Receipt printer installation
You can install a receipt printer within the CRM Hollihop interface and print non-fiscal receipts, i.e. receipts not subject to legal requirements and regulations. In this article you may find a tutorial on how to do that.
Requirements
-
KKM-server must be installed on your device (please see download and install instructions below)
-
Receipt printer and KKM-server must both be connected to the PC you’re going to use for printing receipts from CRM
-
Supported devices:
-
ESC/POS receipt printers:
Label printers, receipt printers (without fiscal register) using ESC/POS protocol (COM, LTP ports, Windows Print Spooler)
-
-
-
Windows printer:
Label printers, receipt printers (without fiscal register) using Windows Print Spooler
-
-
The application is not compatible with Windows 7 OS.
-
The KKM-server is a paid application, it requires buying a license. You can find terms of payment here: https://kkmserver.ru/KkmServer#Licenze
I. KKM server Application Installation
- Click the link https://kkmserver.ru/Donload/Setup_KkmServer.exe, choose the path for distributive, the file will begin downloading.
- Double click the file to launch the installation.
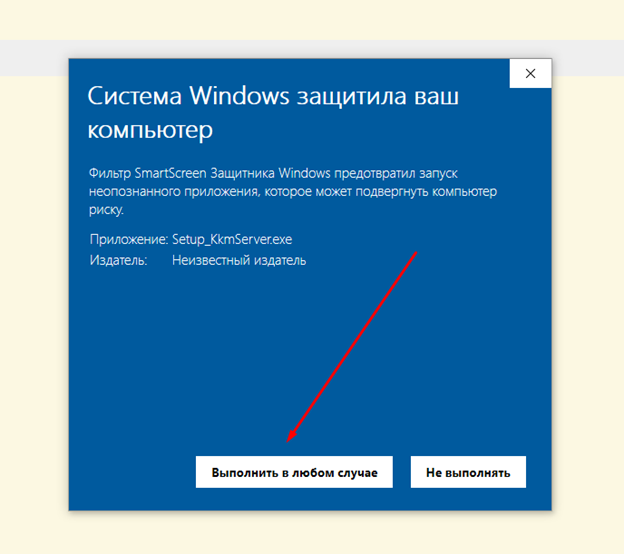
- If your operational system asks for confirmation to execute the file, you will need to allow it. It may require you to press the Details button for the confirmation button to appear.
- Follow the installation guide.
- After the installation is finished you will see the KKM-server icon on your desktop


II. Application setup
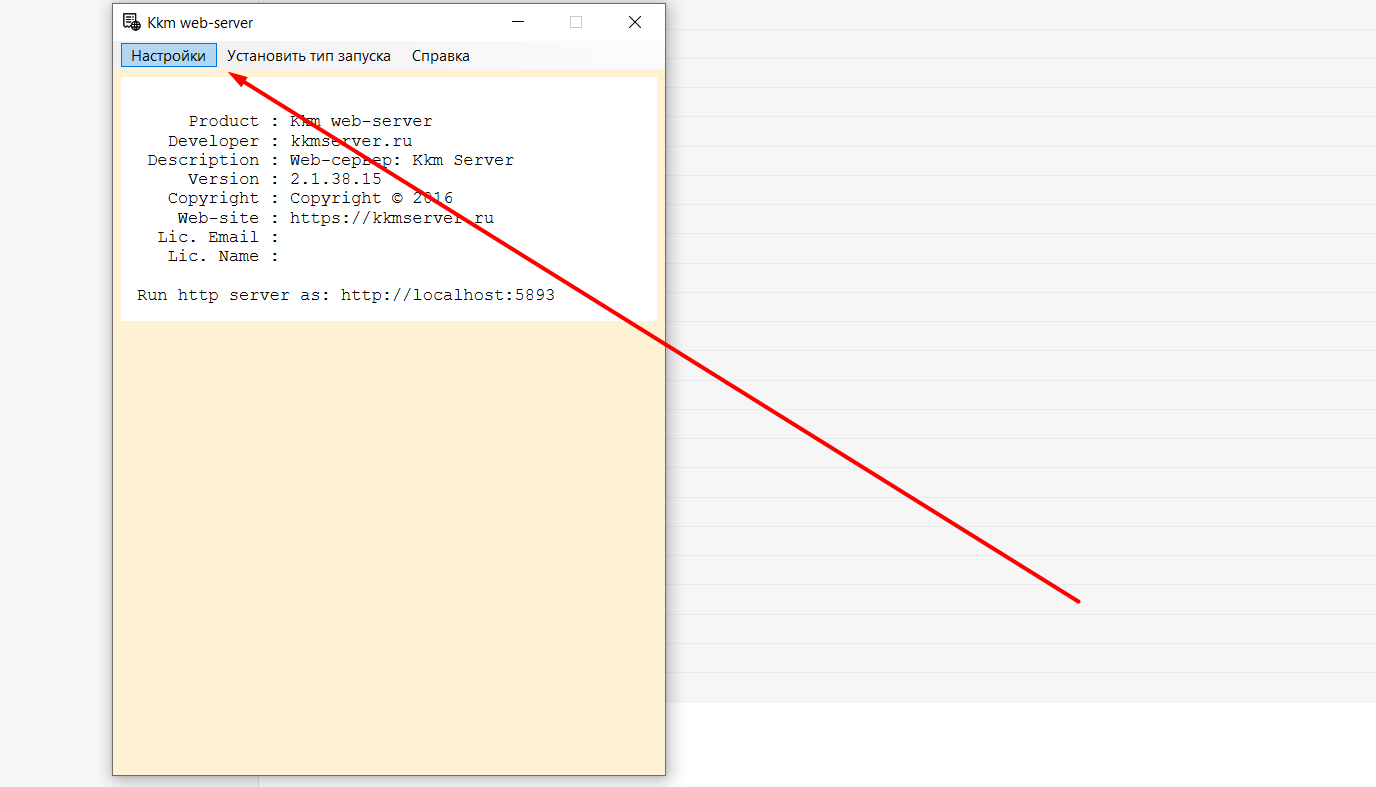
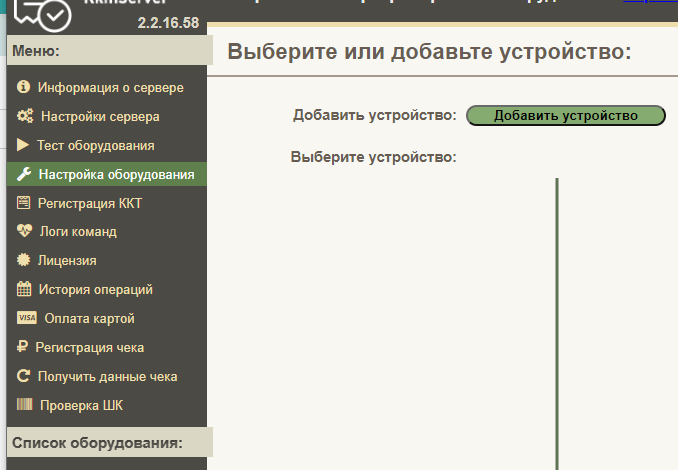
- Double click KKM-server icon on your desktop, open the app and go to Settings:
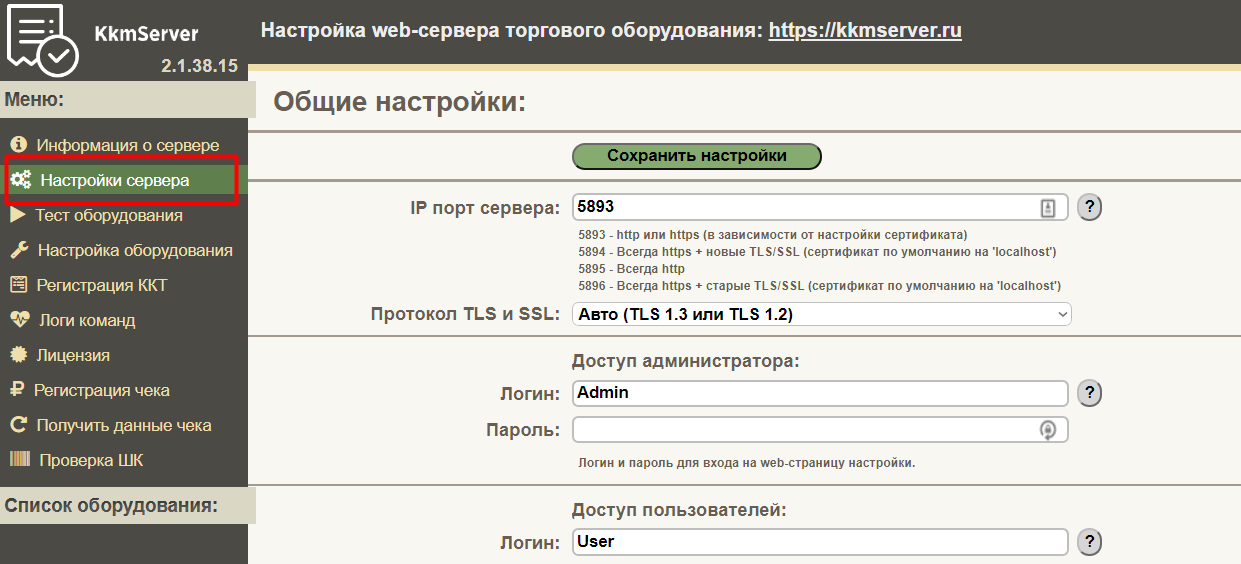
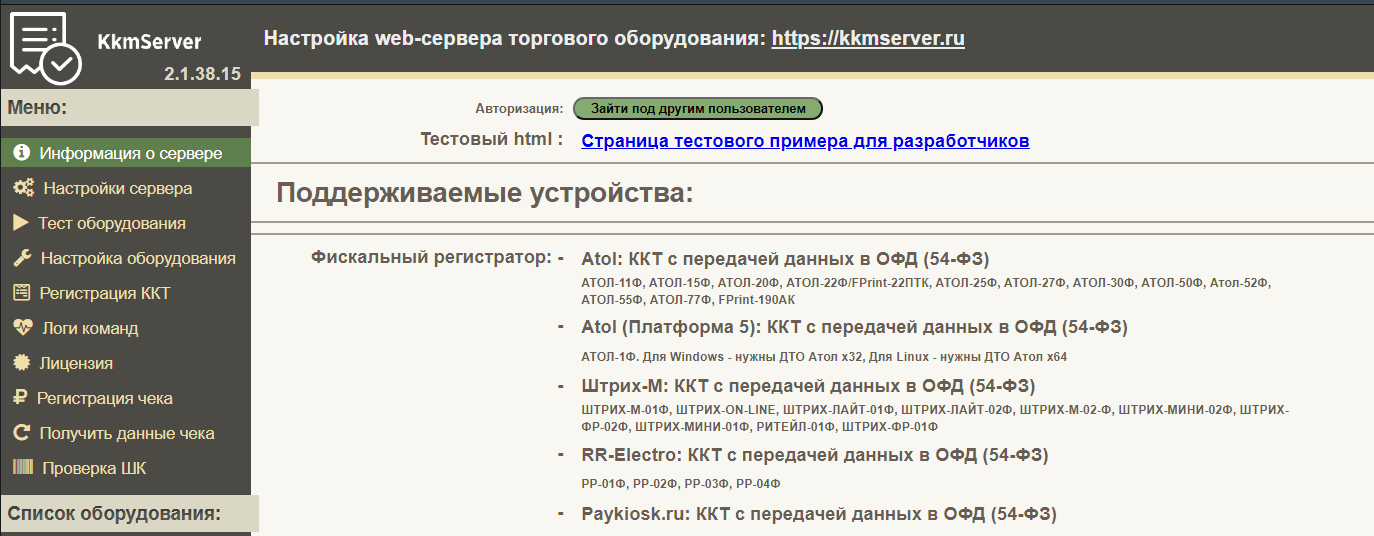
- Settings window will open in your browser:

- Go to Server settings:
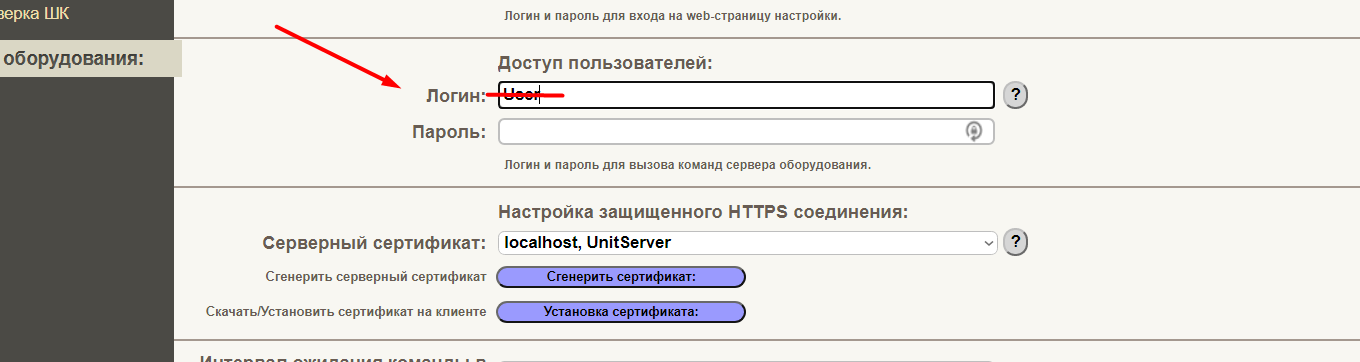
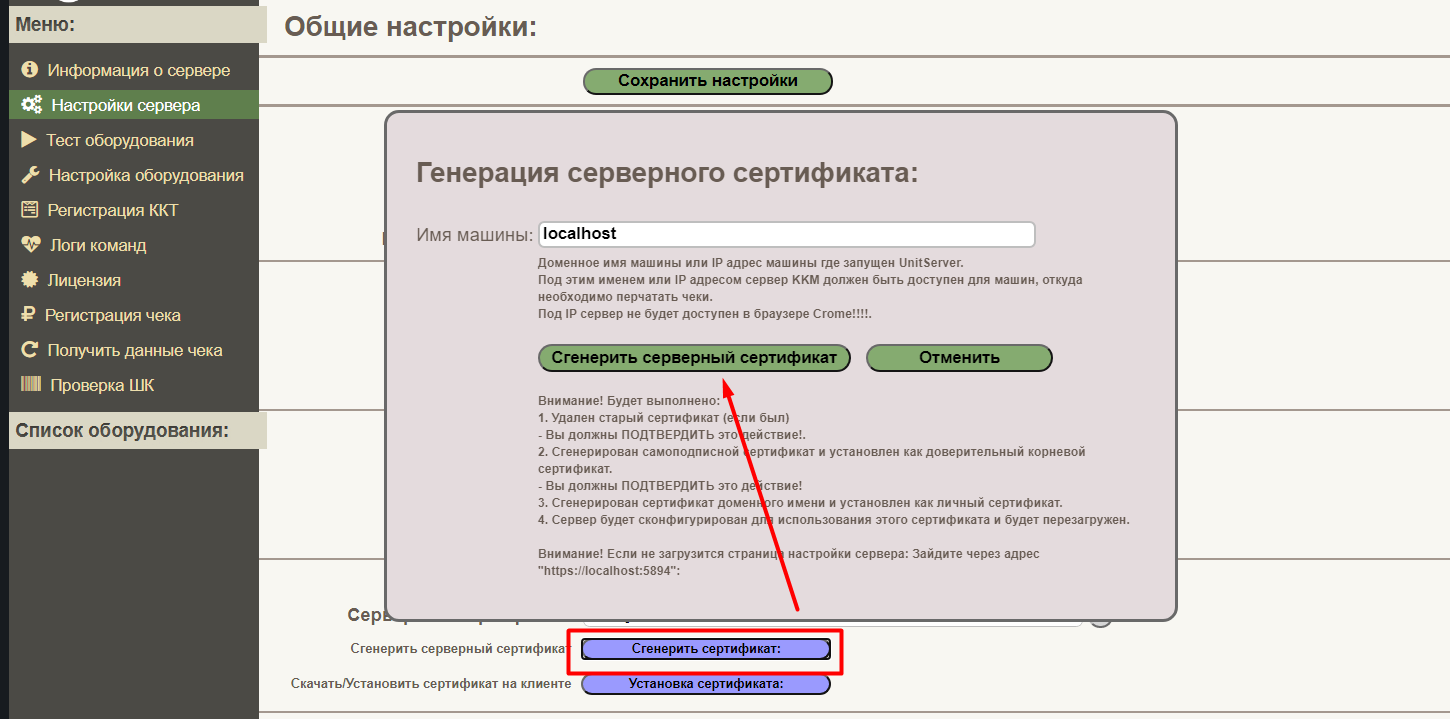
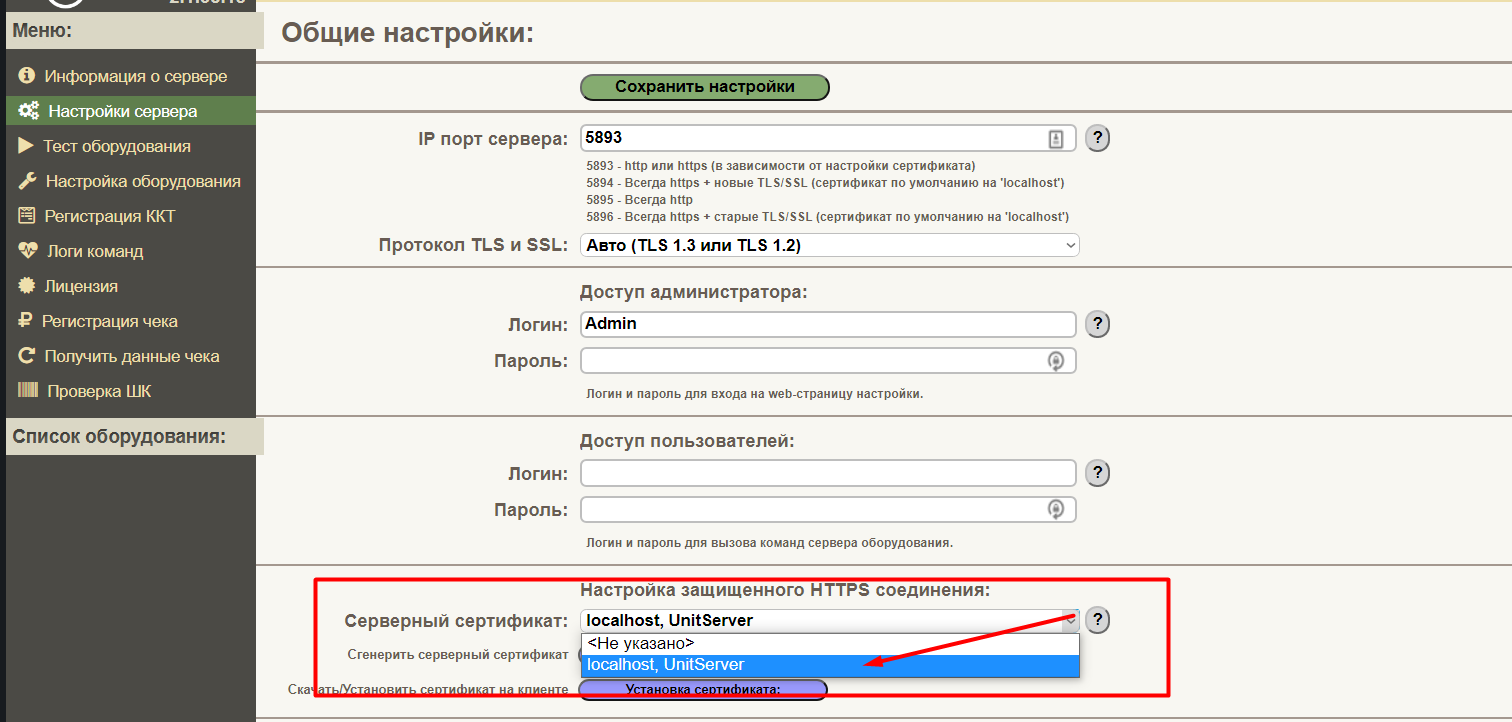
- You will have to generate a server certificate. Choose it from the list and press the Generate certificate button (and confirm the generation):


- Remove all of the information from the User access section, otherwise it will be in conflict with CRM data:
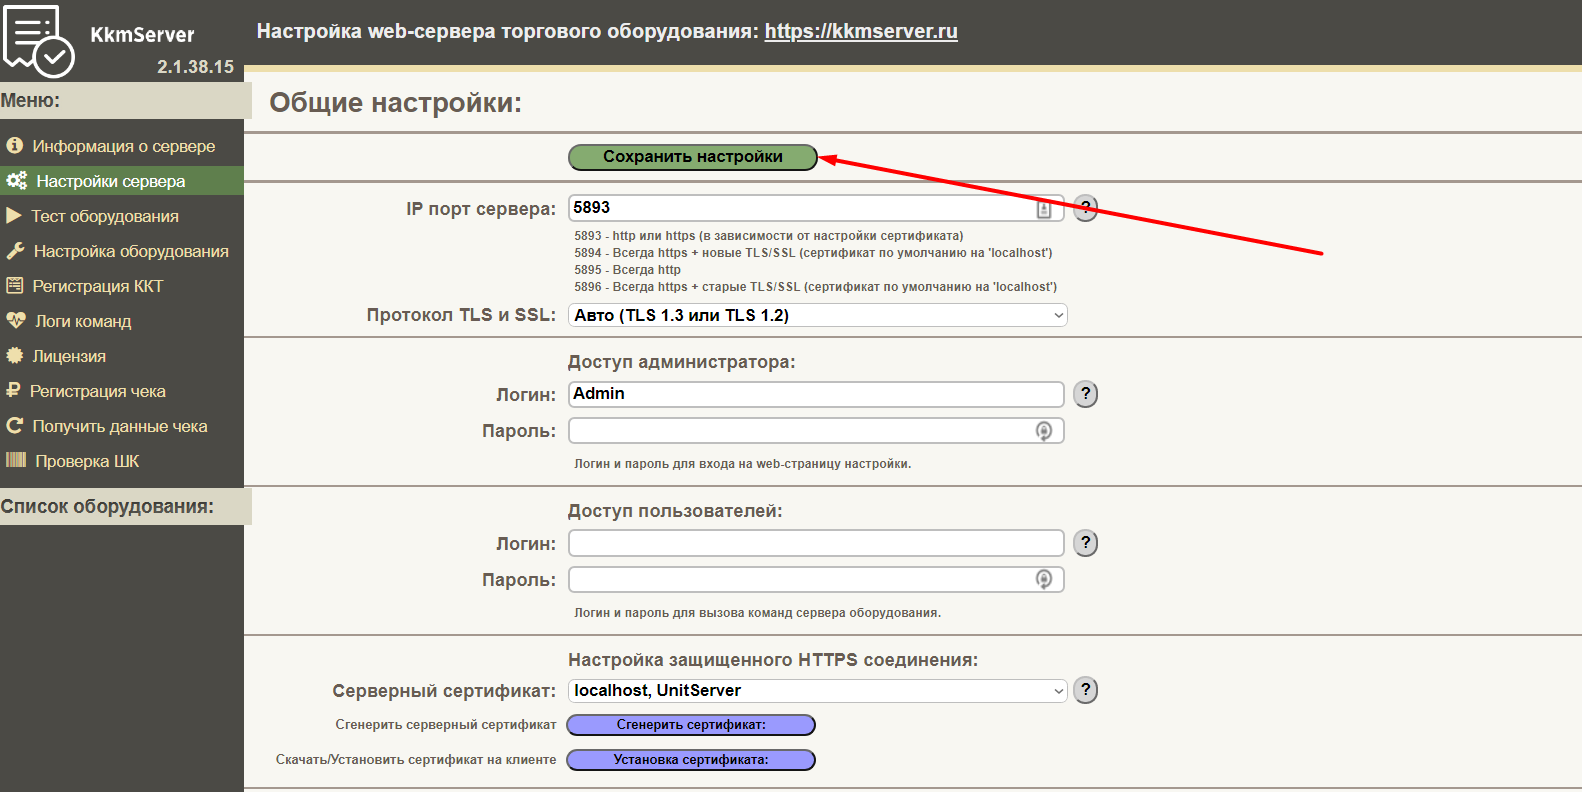
- Save settings:
- Go to the Device settings section and press Add device:

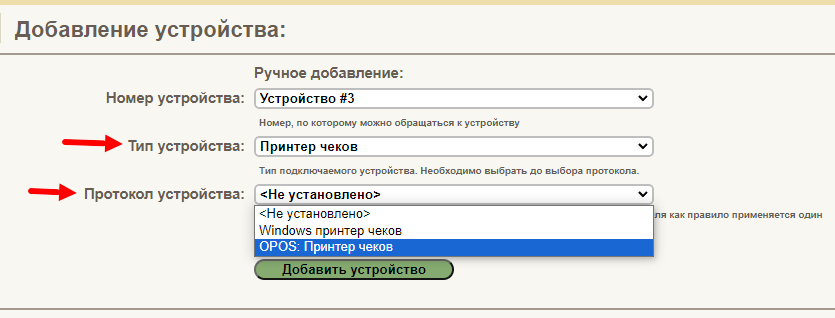
- Choose Receipt printer device type and the device protocol (for most cases it’s OPOS):

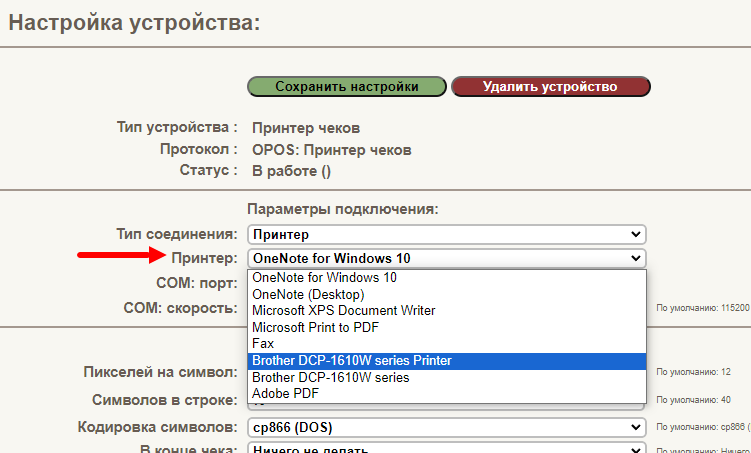
- Choose your printer from the printer list:

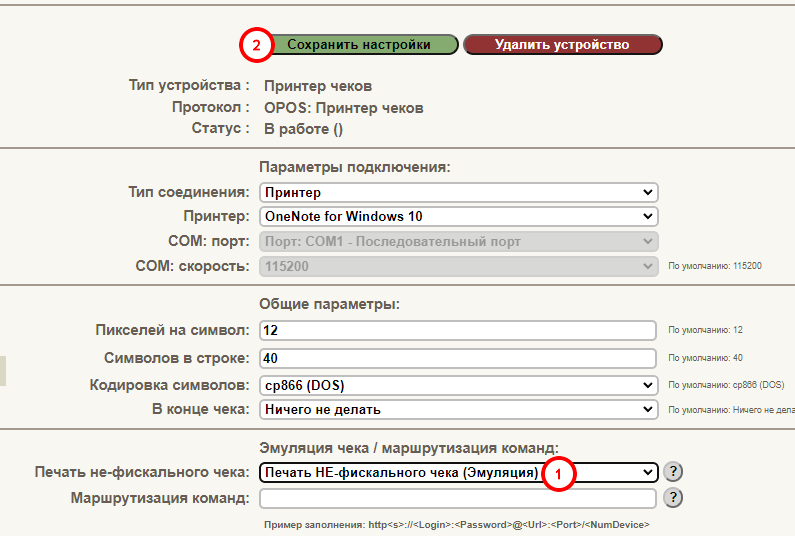
- Choose Print non-fiscal receipt below (1) and save settings (2):


III. Receipt template
You can download a receipt template to CRM through our Customer support, here’s a link with contacts.
You can add a simple black and white image, barcode or QR-code to your receipt template. Send us codes as links or readable numbers, make a note that it’s a code and specify a code type, e.g. QR or EAN13.
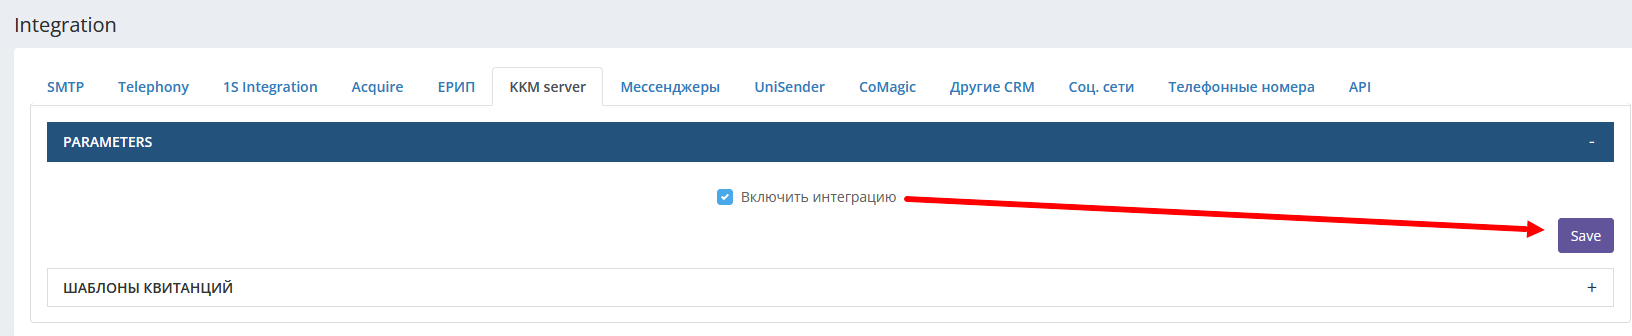
IV. Connecting KKM-server to CRM
To connect a receipt printer to the CRM through KKM server, open the CRM and go to Settings - Integrations - KKM server - Parameters, then check the Enable integration box and save:
V. Printing receipts from CRM
- Add a payment to CRM if you haven’t done it yet. How to add a payment (Russian).
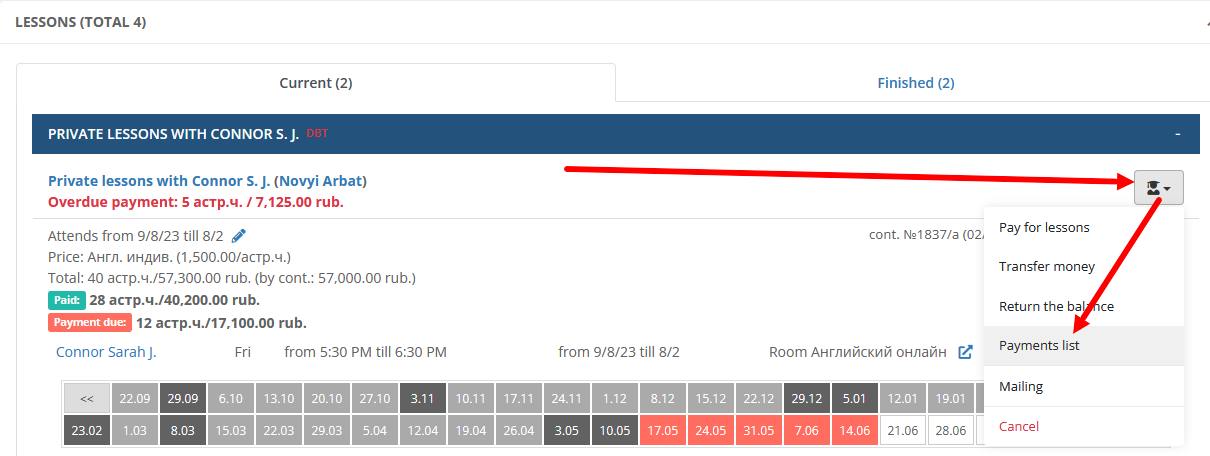
- Go to any list of payments.
a) In student’s profile page Personal Account section;
b) In Finances - Invoices and Deposits section;
c) In student’s lessons Payments list:

- Press the green button on the right of the payment and select Receipt:
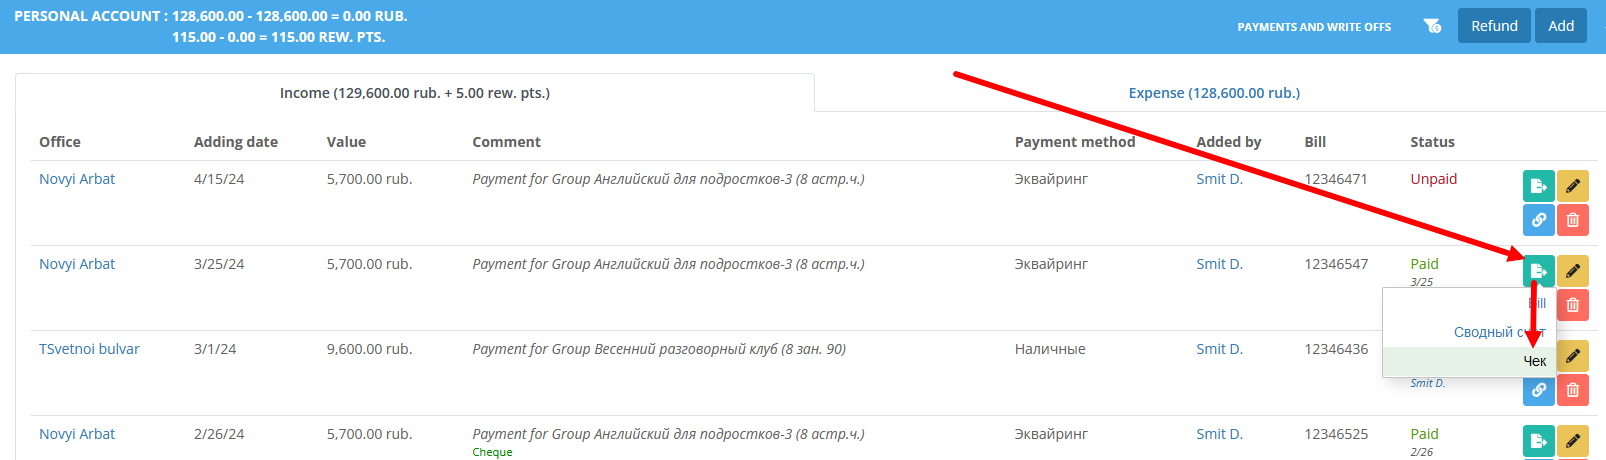

Your printer must start printing the receipt.